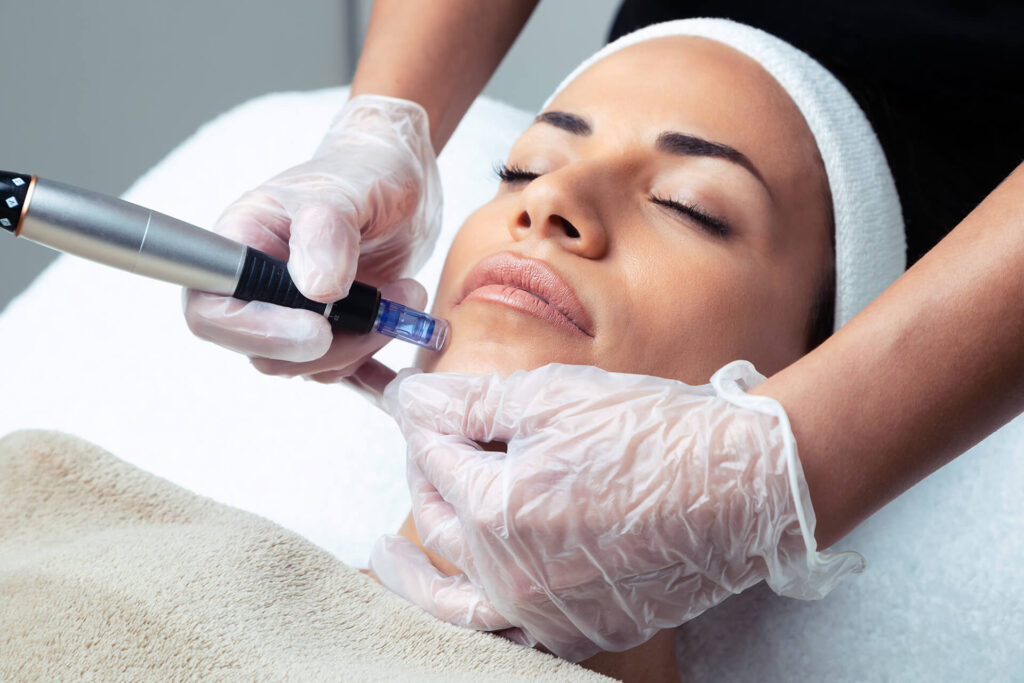
A dermapen is a handheld device that uses tiny needles to puncture the skin, creating microscopic channels. This process, known as micro-needling, is a popular treatment for a variety of skin concerns, including acne scarring, fine lines, and hyperpigmentation. While many people opt to have professional micro-needling treatments done in a clinic, it’s possible to achieve similar results at home with the right tools and techniques. In this guide, we’ll walk you through how to use a dermapen at home to get professional-grade results.
Step 1: Choose the Right Dermapen
Source: solarmedical.rs
There are many different dermapens on the market, so it’s important to do your research and choose one that’s right for you. Look for a dermapen with adjustable needle depth, as this will allow you to customize the treatment to your skin’s needs. You’ll also want to consider the size and shape of the pen, as well as any additional features it may have, such as LED lights or vibration. If you are in Australia, you may want to consider looking for a high-quality dermapen Australia supplier that offers a range of options to choose from.
Step 2: Prepare Your Skin
Properly preparing your skin before micro-needling with a dermapen is crucial for achieving optimal results and minimizing the risk of complications. Here are some essential steps to follow when preparing your skin for micro-needling:
Cleanse Your Face
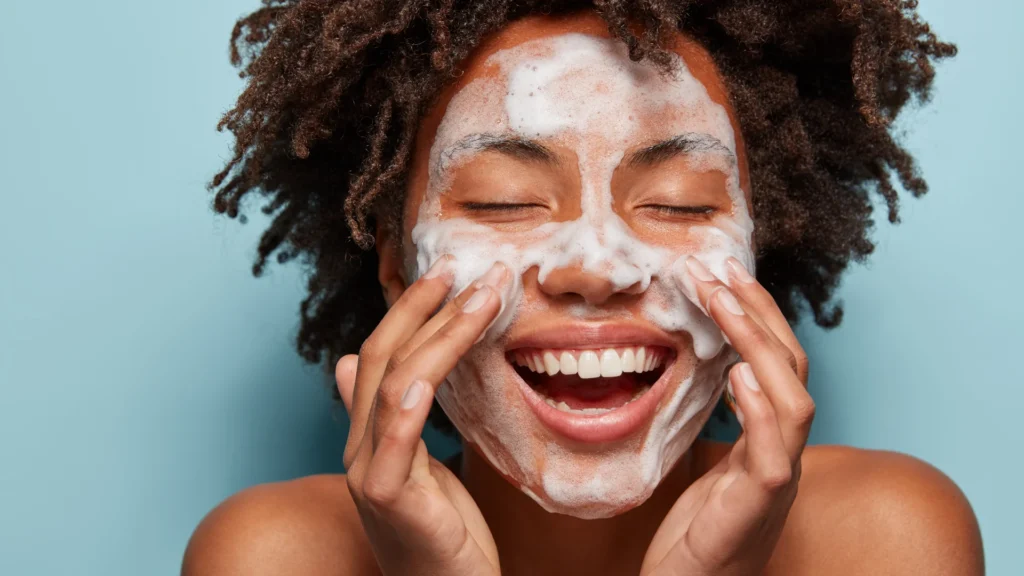
Source: truskin.com
Before micro-needling, start by cleansing your face with a gentle, non-irritating cleanser. Make sure to remove any makeup, dirt, oil, or debris from your skin to ensure that the dermapen can effectively penetrate your skin.
Apply Numbing Cream
Applying a numbing cream to your face before micro-needling can help minimize any discomfort or pain during the procedure. There are many over-the-counter numbing creams available, or you can ask your dermatologist or aesthetician for a prescription-strength cream.
Wait for the Cream to Take Effect
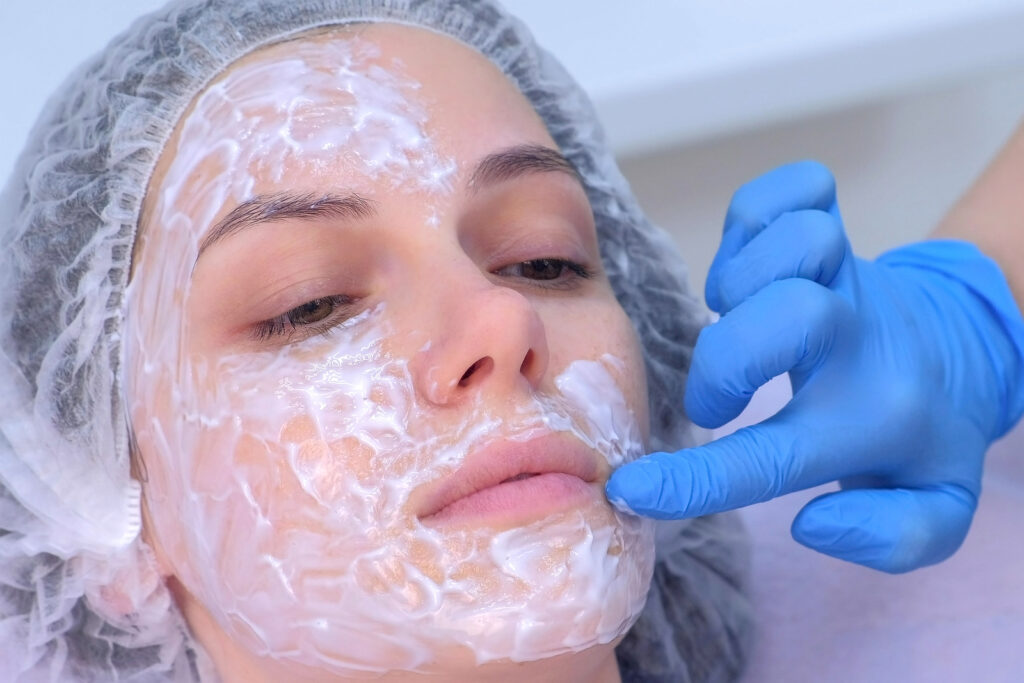
Source: nationalpharmacyrx.com
Once you’ve applied the numbing cream, wait at least 20 minutes for it to take effect before starting micro needling. The cream needs time to penetrate your skin and desensitize the nerve endings to minimize any pain or discomfort during the procedure.
Avoid Certain Medications
Certain medications, such as blood thinners or aspirin, can increase the risk of bleeding or bruising during micro-needling. Talk to your dermatologist or aesthetician before the procedure to determine if you need to stop taking any medications or supplements beforehand.
Keep Your Skin Hydrated
Keeping your skin properly hydrated is crucial for achieving optimal results after micro-needling with a dermapen. Here are some essential tips for keeping your skin hydrated and nourished:
Drink Plenty of Water

Source: metro.co.uk
Drinking plenty of water is essential for keeping your skin hydrated from the inside out. Aim to drink at least eight glasses of water a day, and consider incorporating other hydrating beverages, such as herbal tea or coconut water, into your routine.
Apply a Hydrating Serum
After micro needling, your skin may be more susceptible to dryness and dehydration. Applying a hydrating serum or moisturizer to your face can help replenish lost moisture and keep your skin looking plump and radiant. Look for products containing hyaluronic acid, glycerin, or ceramides, which are all excellent for hydrating and nourishing the skin.
Use a Humidifier
Using a humidifier in your home or office can help keep your skin hydrated by adding moisture to the air. This is especially important during the winter months or in dry climates when the air can be particularly dry and harsh on the skin.
Avoid Hot Showers and Baths
Taking hot showers or baths can strip your skin of its natural oils and cause it to become dehydrated. Instead, opt for lukewarm water and limit your shower or bath time to no more than 10 minutes.
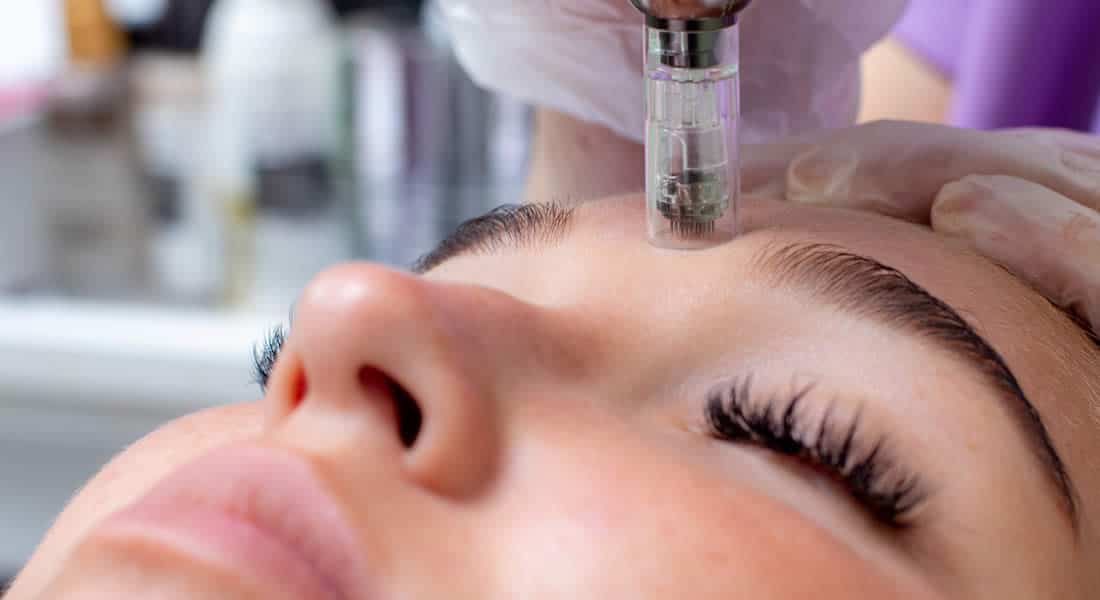
Step 3: Begin Microneedling
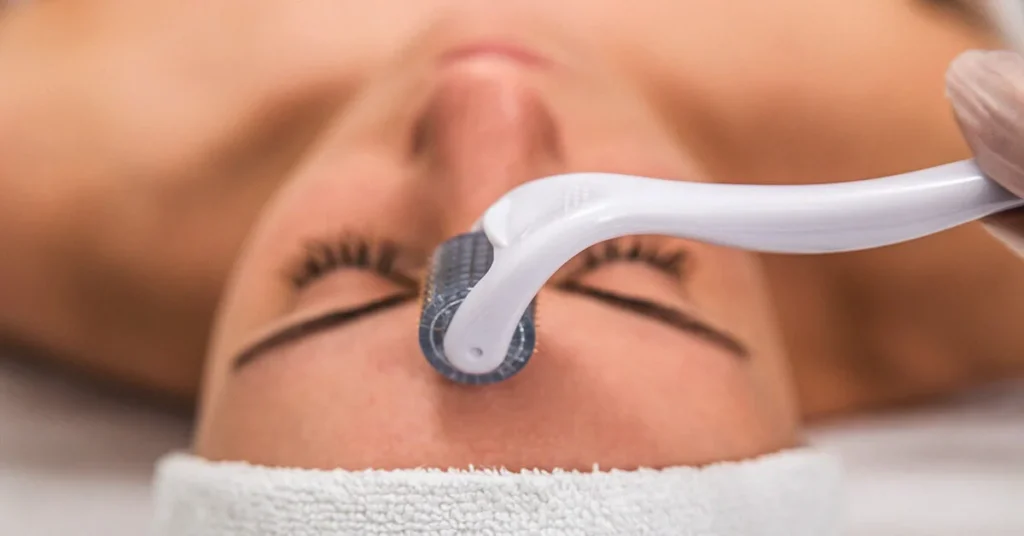
Source: healthline.com
Once your skin is prepared, it’s time to begin microneedling. Start by selecting the appropriate needle depth for your skin. A good rule of thumb is to start with a shorter needle depth and work your way up as your skin becomes more accustomed to the treatment.
Hold the dermapen at a 90-degree angle to your skin and apply gentle pressure as you move the pen across your face. Be sure to cover all areas of your face evenly, taking care not to overlap too much or apply too much pressure.
Step 4: Post-Treatment Care
After completing the micro-needling process with a dermapen, your skin will require some extra attention and care to ensure proper healing and optimal results. Here are some essential post-treatment care steps to follow:
Apply Soothing Products
Your skin may feel tender and sensitive after microneedling. Apply a soothing serum or moisturizer to your face to help reduce any redness, irritation, or inflammation. Avoid products containing harsh chemicals, fragrances, or alcohol, as these can further irritate your skin and delay the healing process.
Use Sunscreen
After micro needling, your skin may be more susceptible to sun damage, so it’s essential to apply a broad-spectrum sunscreen with an SPF of at least 30. Avoid prolonged exposure to direct sunlight, especially during peak hours, and consider wearing a wide-brimmed hat or using an umbrella to protect your face.
Avoid Touching Your Face

Source: allure.com
Avoid touching your face with your hands for at least 24 hours after micro needling. Your skin may be more susceptible to infections, and touching it can transfer bacteria and germs from your hands to your face. If you must touch your face, make sure your hands are clean and disinfected.
Avoid Harsh Skincare Products
After micro-needling, avoid using any harsh or irritating skincare products, such as exfoliants, toners, or scrubs, for at least 24 hours. These products can irritate your skin and cause inflammation, delaying the healing process. Instead, stick to gentle, hydrating products that are specifically designed for post-micro-needling care.
Avoid Makeup
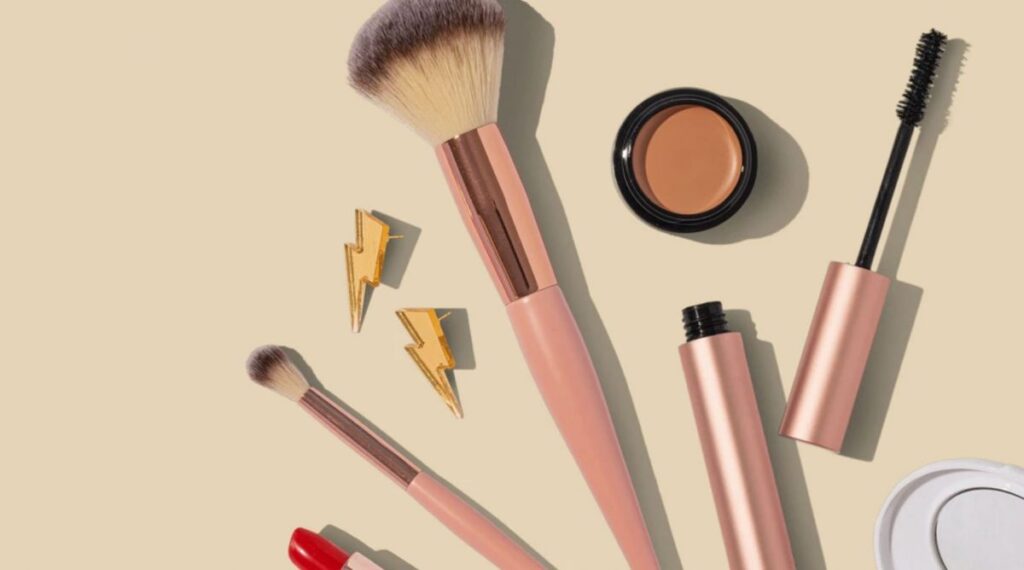
Source: cosmopolitanme.com
Avoid applying makeup or any other cosmetic products to your face for at least 24 hours after micro needling. Your skin needs time to heal, and applying makeup can clog your pores and prevent proper healing. If you must wear makeup, choose a mineral-based product and make sure to clean your brushes and tools thoroughly before use.
Conclusion
Using a dermapen at home can be a great way to achieve professional-grade results without the cost or inconvenience of going to a clinic. By following these steps and taking good care of your skin before and after micro needling, you can achieve smoother, more youthful-looking skin in no time.